 admin
admin Ways to Connect Brother Printer to Computer on Windows
When Brother Printer not connecting to computer occurs, it means connection is not established between PC and Printer. Moreover, other factors, such as hardware faults, outdated drivers, incorrect configuration are responsible for the Printer not connecting to the computer. To resolve the issue, remove the USB cables from the ends of the Printer and attach them again. It will fix your issue, but if not, check the solutions below.
Brother Printer Not Connecting To Computer – Causes
Irrespective of whether you are using a wired or wireless printer setup, we are here to help you to connect Brother Printer to your PC. Let’s first find the causes below:-
- Poor internet connectivity
- Incorrect configuration of the printer settings on PC.
- Hardware failure issue
- Incompatible printer drivers
5 Steps to Connect Brother Printer to Computer
1. Ensure Your Brother Printer is Power On
You must follow this first and keep it in mind while facing the Printer not connecting to a computer error. Ensure your Printer is turned on; if it is not turned on, it will show a connection problem.
Check a few points below:-
- If you notice your Brother printer with a blank screen, the possibility is the device is turned off.
- To check, press the “Start” and “Options” buttons. It will help you check whether your Printer is in sleep mode.
- Finally, ensure that you have plugged your device into the correct socket.
If your Printer is still not turned on, there could be hardware issues. For this, you can contact the hardware experts.
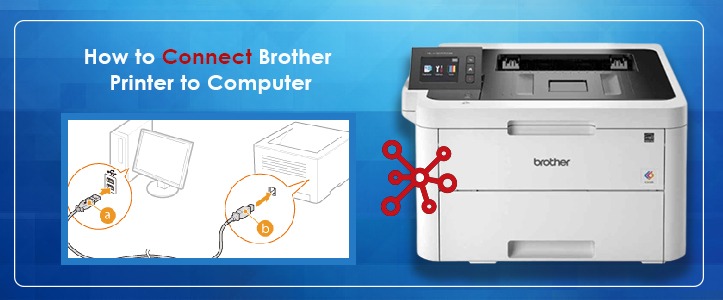
2. Disconnecting & Reconnecting the Printer
Another troubleshooting technique you can follow to counter the problem is disconnecting and reconnecting the device from the PC.
To begin with, you need to break the connection between the Printer and PC either by removing cables or disabling wifi.
After disconnecting, please wait for a few minutes and connect them again. To do so, check the given steps below:-
- First, power on the PC and the Printer.
- Attach USB to both the Printer and the PC.
- After that, click on the “Device Management” option.
- Then, click on “Add Printer.”
- After this, follow the instructions available on your screen.
In addition, ensure cables are connected to the Printer’s ports appropriately.
3. Ensure Valid Configuration Of Printer On PC
- Go to the “Start” button and access “Control Panel.”
- Next, choose the “Hardware & Sound” option.
- After that, click the “Device and Printer” option.
- Choose your device from the list.
- Right-click on your device and choose “Print properties.”
If you are still looking for your Brother printer on the list, there could be some issues with the printing device.
4. Update Brother Printer Driver
For the proper functioning of the Brother printer, it is essential to use the correct or updated drivers. Please make sure drivers are of the latest version.
After following the given steps, you can easily connect Brother Printer to your PC.
- Before anything, ensure the Printer is connected to the PC.
- Now, visit Brother’s official site and download the compatible drivers for your device.
- Click on “Downloaded File” and follow the instructions accordingly.
The primary reason you should update your driver is that it gets you solutions to fix bugs or issues with your device.
5. Restoring The Default Settings Of The Printer
If you want to know how to connect the Printer to a PC or face an issue connecting your device, get back to default settings.
You could reset the Printer if the above solutions didn’t fix your problem.
- First, remove the cables and hit the “Menu” button.
- Next, choose the “Initial Setup” option.
- Then select “Reset” and “OK.”
- At last, Choose “Reset Function” and “OK,”
After completing the steps, remember to backup your file or crucial data. Once the Printer is reset, it can’t return to its previous state.
The Last Note
The Brother Printer Support is available 24/7 if you still face a problem “Brother Printer won’t connect to a computer.”
Category:
Brother Printer